

After posting some of my texture photos and telling you I got them through Picnik, I got a few questions as to how it was done, where the textures were, etc. I thought I'd do a quick tutorial/explanation for those of you interested...and/or confused.
Before I begin...
First, please note that textures are only availible when you have Picnik Premium...This is something I totally recommend, but I understand if you're not interested. Just realize that non-premium Picnikers do not have access to this.
Secondly, I am NOT talking about the Halloween Textures. Those are in the featured Halloween section and are just plain weird (and, in some cases, gross - who'd want blood as a texture, anyway?). The textures I'm using are found in a different place and are much nicer looking.
Okay, then.
A. Upload your photo to Picnik and do any editing necessary (y'all knew that was coming, right?).
B. Head down to the textures section. To do this, go to Create :: Effects :: Scroll down to Artistic and Textures should be the first item. I've circled it below.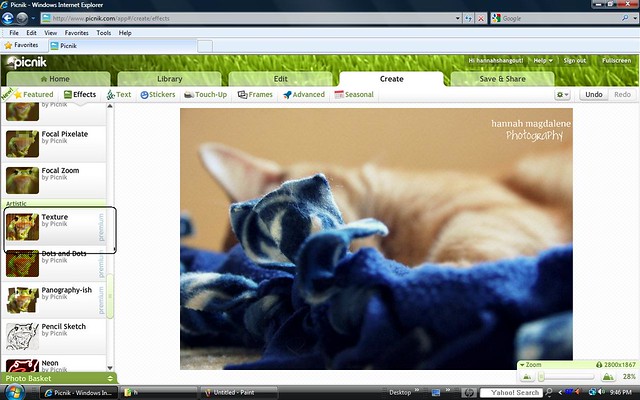
C. Choose what ya like, like what ya choose.
There are many things you can do in this section to make your photo completely unique. Okay, that sounded corny. Like, really corny. But it is true.

Okay, so as you can see, I've (really messily) marked some of the different things you can do in the section.
To go over them briefly...
To go over them briefly...
1) Choose a texture (just click on the little squares;). At first, I thought that there were only a few too choose from...But then I noticed that you could scroll sideways and few several others - see circled area. Score! Mess around - there's definitely a lot of verity there.
2) You can click next to where it says "Multiply" to find a number of options for how the texture will look on your photo. You can scroll over these and decide what gives the look you're going for. (I know, this is a little confusing, but it's quite neat.)
3) Flips and Rotations will position your texture where it looks best (e.g. - you can rotate the texture so that a "crack" in it doesn't cover up your subject, like in my purple rose photo). Click around and decide on what you like.
4) And, last but not least, fade. Definitely something to look into if you don't want the texture to be the star of the show...or photo, or whatever.
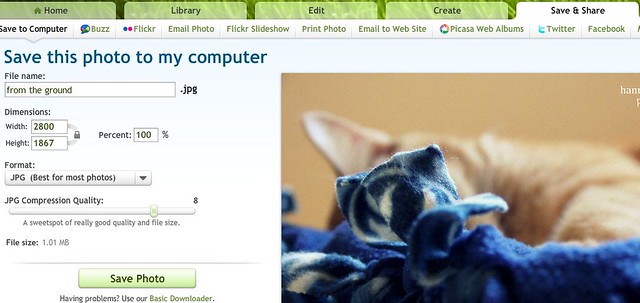
D. When you're ready, apply your texture, do any other editing you need to do, and save your photo to your computer or other source. You're done!
Happy editing,
HannahIMPORTANT: It has taken me a considerable amount of time and energy in writing this post. Please, DO NOT copy and paste this tutorial to your site, use any of my images, or take credit for my work. If you found this helpful and would like to link back to this post, that would be lovely. I just ask that you give me due credit. Thank you.
Thank you for this tutorial!! When you said you have been using textures, I though you meant the Halloween ones. I was a little confused. ;)
ReplyDeleteI'm going to be using this tutorial for a couple pictures I'm going to share on my (photography) blog, and I will make sure I link back to this post. Thanks again! :)
-kaylee
kayleesphotography.blogspot.com
Don't you just love Picnik? It makes editing so easy!
ReplyDeleteHi Hannah -
ReplyDeleteMark here from the Picnik team. I like the tutorial. From reading a few of your other posts, it sounds like you know Picnik well. I was going to mention Halloween textures, but it looks like Kaylee has it covered. If you're interested, we have more tips and tricks in our help center here: http://www.google.com/support/picnik/bin/answer.py?answer=179561
And of course thanks much for blogging about Picnik. The team really enjoys seeing how everyone uses Picnik.
Regards,
Mark